First of all, there are several ways to upload a photo to Blogger. Most of them you get to by clicking on the little picture icon:
 But not all.......
If you understand html there are other options. But for now, let's look at what happens when you click the little picture. It offers upload options:
From this blog
From Picasa Web Albums
From your phone
From your webcam
From a URL
Now, some of you will have realised that 'From this blog' and 'From Picasa Web Albums' creates a problem after a while. Blogger limits the amount of space you can have to store your photos and you have to pay for more.
(Unless you've been clever and shrunk all your photos in the first place. I didn't - so I ran out of space pretty quickly and I'm too tight to pay for more.)
You need an app to use your phone. I shall assume if you are capable of uploading an app, you are capable of uploading a photo!
Ditto webcam.
From a URL can be very useful but BEWARE of copyright infringements.
If you have a website elsewhere (like I do) you can use the URL to insert a link. A URL will look something like this:
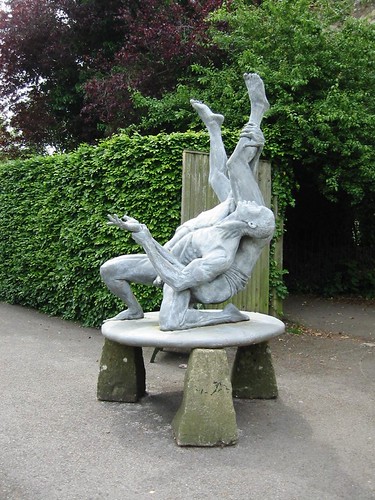
http://www.historyanorak.co.uk/history/TheNewHistoryanorak/art_and_sculpture/Sculpture/rank_broadley/pix/Rankbroadley_malmsbury_wrestlers_1.jpg
and if you paste it into your text, Blogger will automatically make a link to it.
If you paste it into the space given when you use the 'From a URL' option (as above) you'll get this:

Note. I took the photo. I own the copyright. I also own the rights to the website where it appears. If you don't fulfil those conditions GET PERMISSION before you use the picture.
There is another option. That photo also appears on (one of) my Flickr site(s). Flickr can give you a URL for the picture but it can also give you (under the 'share' option) HTML or BBCode. That looks like this:
<a href="http://www.flickr.com/photos/historyanorak/161785585/" title="Malmesbury Abbey House - The Wrestlers by historyanorak, on Flickr"><img src="http://farm1.staticflickr.com/78/161785585_11948a0602.jpg" width="375" height="500" alt="Malmesbury Abbey House - The Wrestlers"></a>
But to use that you need to be in the HTML option at top left of the Blogger composer. If you don't understand HTML, avoid using it. (Or look here)
This post has gone on quite long enough. Come back to the next post for stage 2.